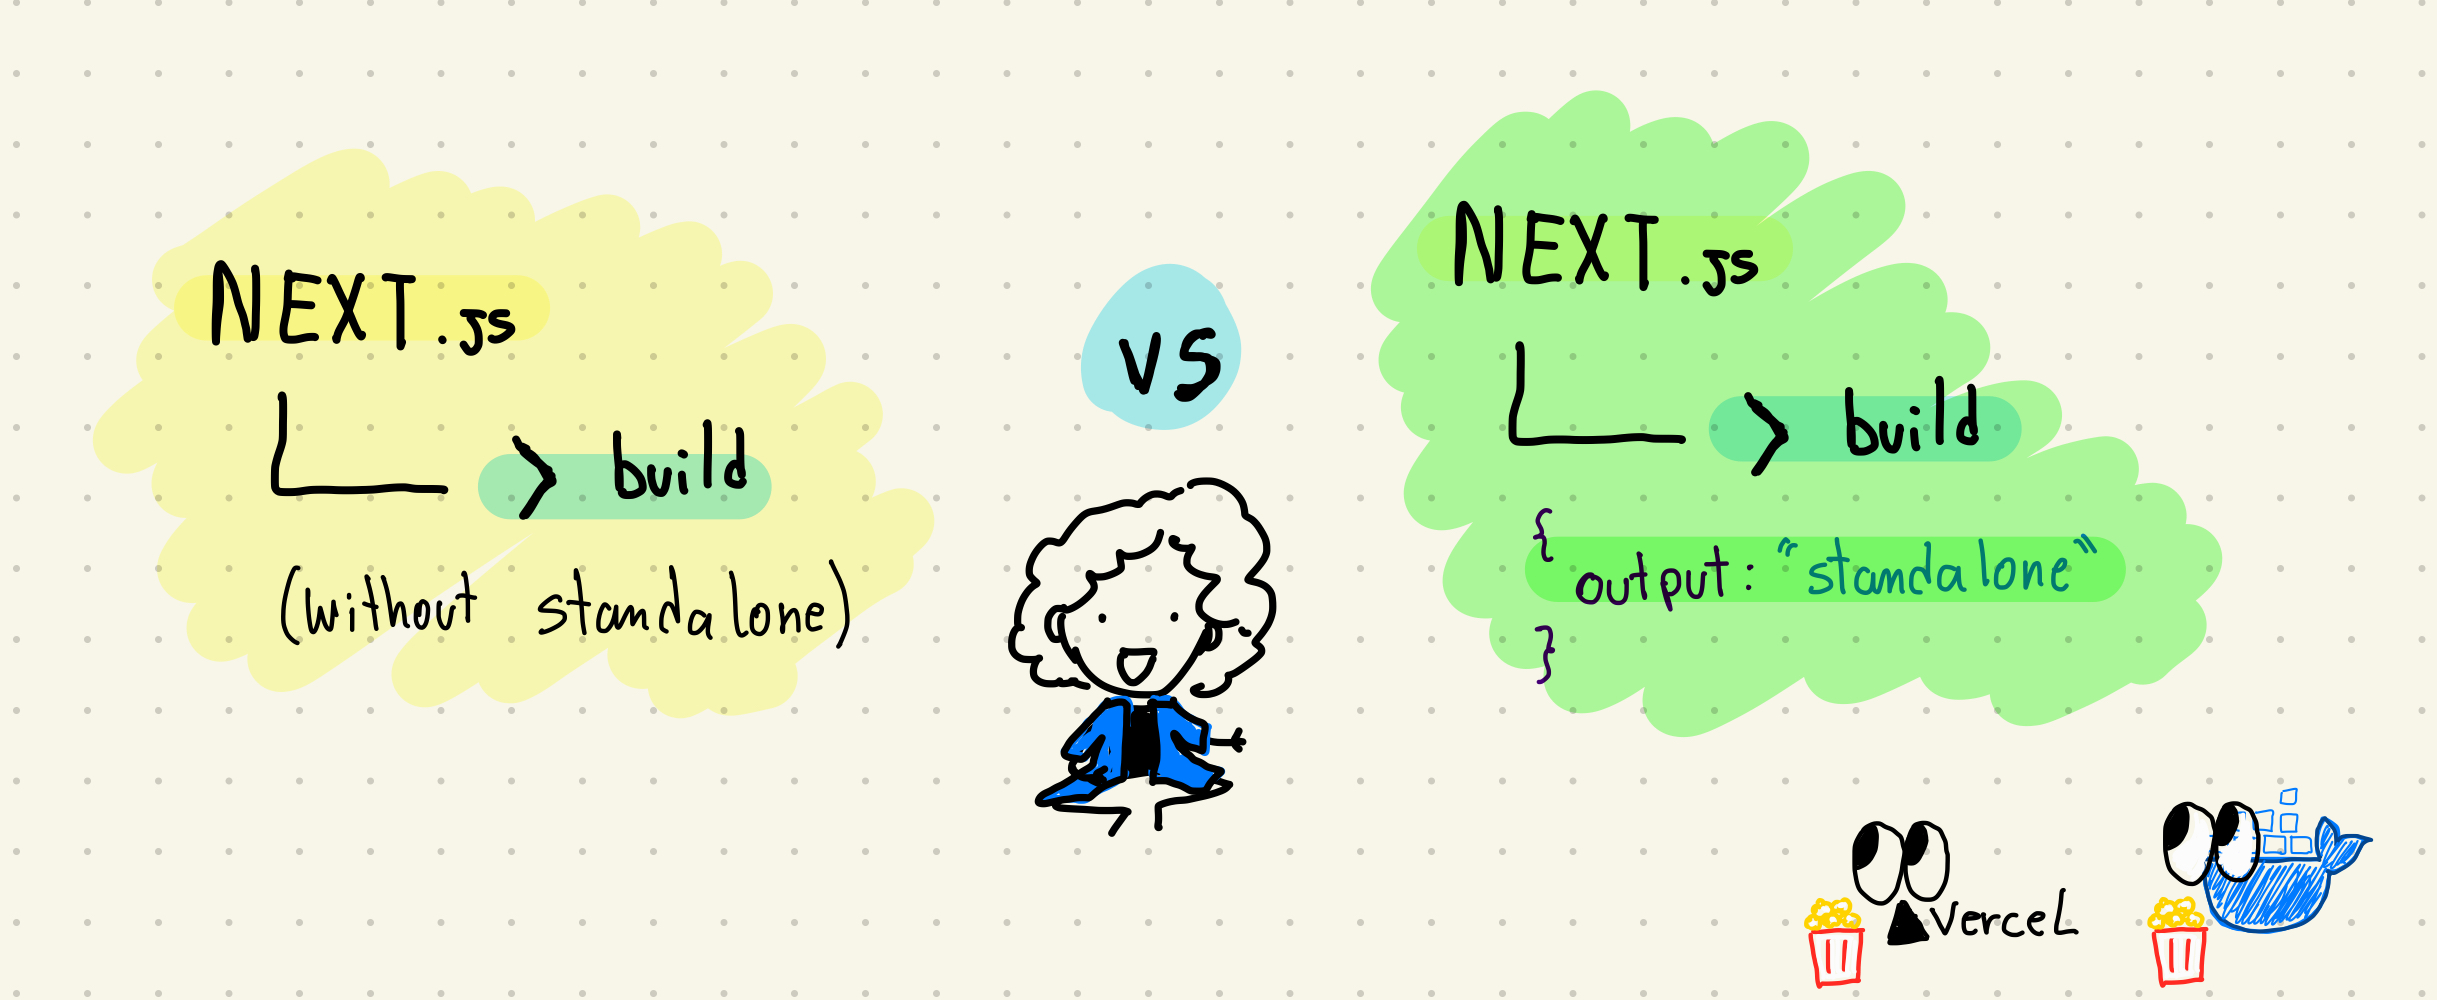
In my post "Renewing My Blog: The Journey from 2020 to Now” I mentioned about renewing my blog and the challenges I faced, including creating a lightweight Docker image to run on my limited server. Today, I'll share my experience with the Next.js standalone output with docker and the solution I had for my blog.
- What is the standalone output?
- Some documentation context
- Automating the process
- Comparing Image Sizes
- Why I'm not using Docker
- Conclusion
What is the standalone output?
At a high level, the standalone output is just a folder containing all the necessary files to run your Next.js application.
Some documentation context
According to the Next.js documentation:
During a build, Next.js will automatically trace each page and its dependencies to determine all of the files that are needed for deploying a production version of your application.
By setting the following configuration in next.config.js , Next.js creates a .next/standalone folder and a server.js file, which can be run directly with node server.js.
module.exports = {
 output: 'standalone',
}
However the standalone folder doesn't include the public and .next/static folders. Next.js recommends that these should be handled by a CDN. Since I don't need a CDN for my blog I opted to copy these folders manually to the standalone folder.
Just as a context, my public folder has all images I use on my posts and the static folder contains generated minified JavaScript files, CSS files, images, and other assets. These don't change frequently and that's why Next.js recommends putting these files on a CDN.
Automating the process
To avoid manually moving these folders every time I build the application, I created 2 solutions:
- A Bash Script: I can test building it locally, move the folders and run the application. The final script I added to my
package.json. - Dockerfile configurations: to move the folders while creating the image.
1. The Bash Script
The bash script move-files.sh runs the build and copies these folders to the .next/standalone folder and it runs the server at the end.
#!/bin/bash


echo "Build"
npm run build


echo "Copying public folder"
cp -r ./public ./.next/standalone/public


echo "Copying static folder"
cp -r ./.next/static ./.next/standalone/.next


echo "Run node server"
node ./.next/standalone/server.js
On the package.json file I added a new script which calls the bash script, called buildStandalone .
 "scripts": {
   "dev": "next dev",
   "build": "next build",
   "start": "next start",
   "lint": "next lint",
   "test": "jest",
   "new-post": "./scripts/new-post.sh",
   "buildStandalone": "./scripts/move-files.sh"
 },
Now I just need to run npm run buildStandalone to build and run my application.
2. The Dockerfile
For my Dockerfile I created 2 stages:
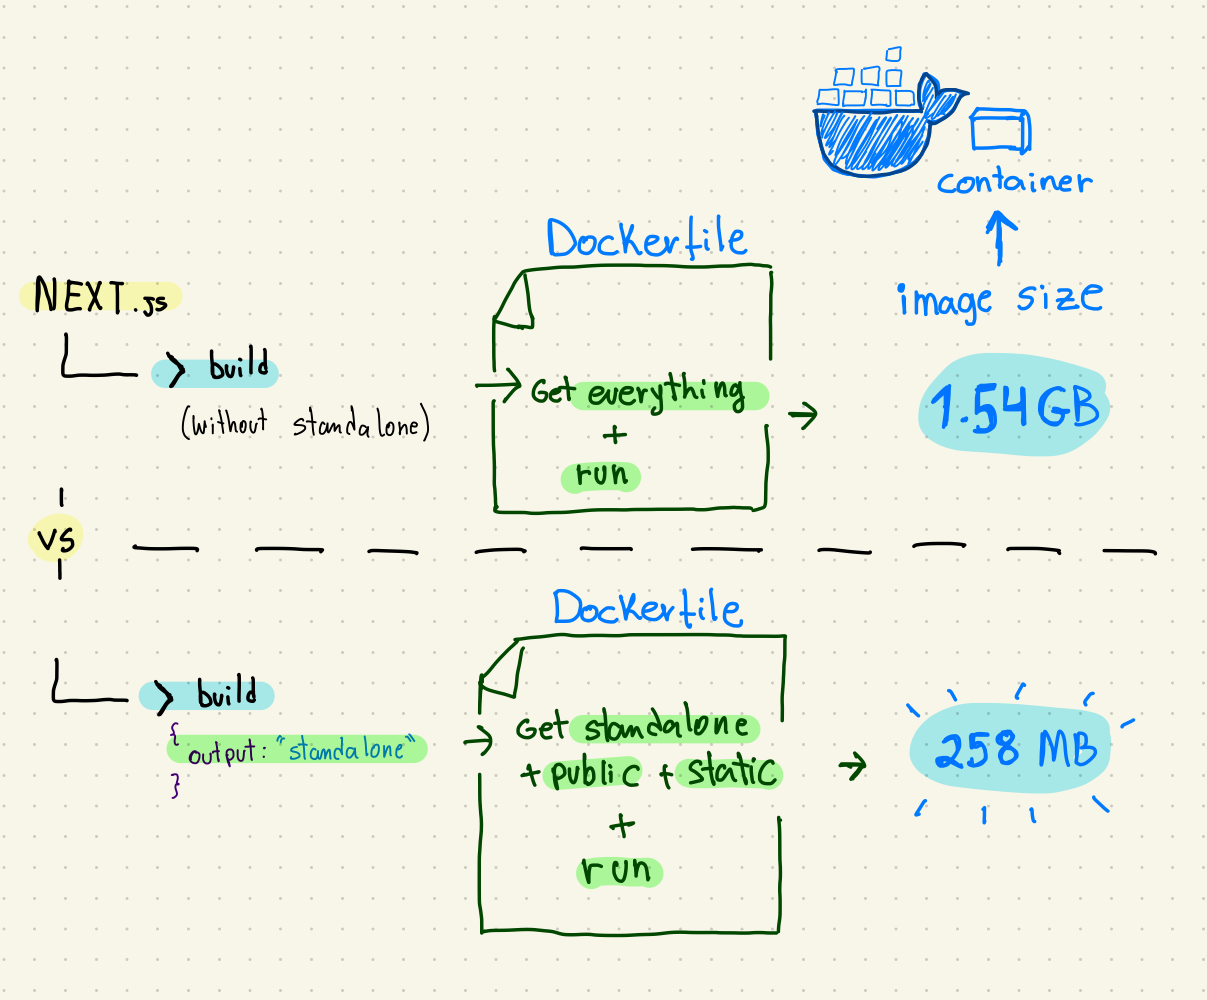
- Build Stage: It contains everything that Next.js needs to install the dependencies and build the application as usual.
- Production Stage: Includes just the necessary files for production, in my case just the
standalonefolder +publicandstaticfolders.
Separating in stages it will keep just the latter. Here's the Dockerfile:
# Build the application
FROM node:22-alpine3.19 as BUILD_IMAGE
WORKDIR /app
COPY package*.json ./
RUN npm install
COPY . .
RUN npm run build


# Production
FROM node:22-alpine3.19 as PRODUCTION_IMAGE
WORKDIR /app


# Copy just standalone build files
COPY --from=BUILD_IMAGE /app/.next/standalone ./


# Copy public folder from root to the standalone root
COPY --from=BUILD_IMAGE /app/public ./public


# Copy static from root .next to standalone .next
COPY --from=BUILD_IMAGE /app/.next/static ./.next/static
EXPOSE 3000
CMD ["node", "server.js"]
Comparing Image Sizes

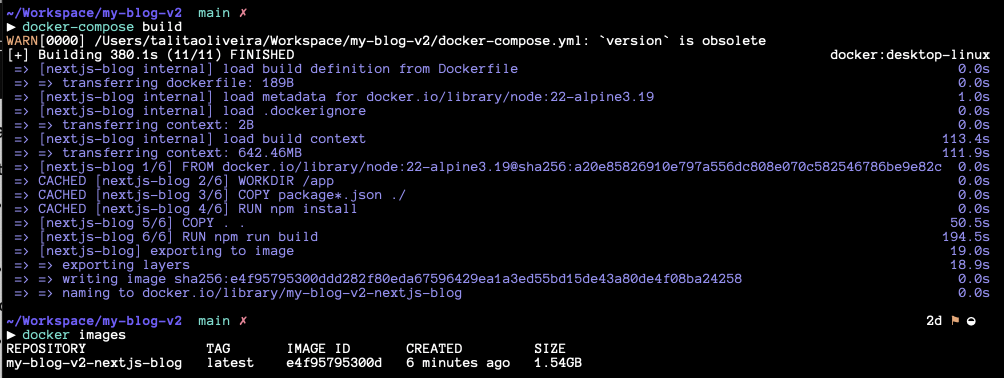
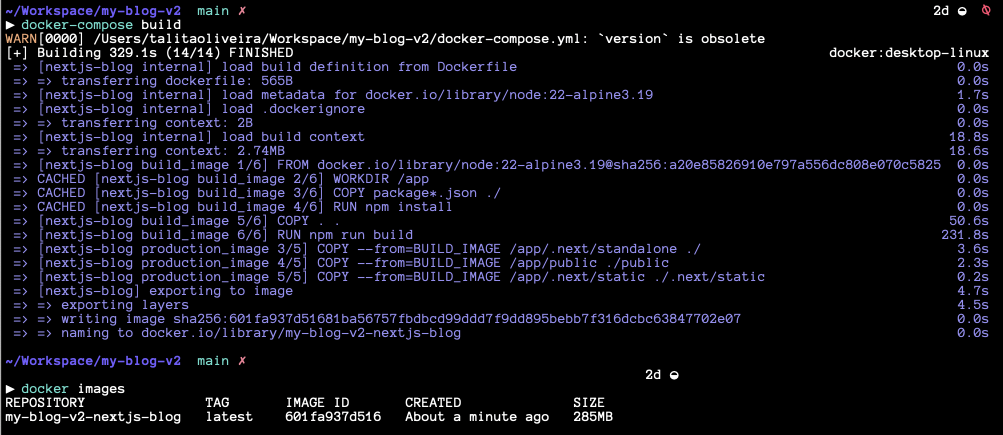
By using the standalone output, I reduced the Docker image size from 1.54GB to 285MB.
The Dockerfile without using the standalone approach:
# Build
FROM node:22-alpine3.19
WORKDIR /app
COPY package*.json ./
RUN npm install
COPY . .
RUN npm run build


EXPOSE 3000
CMD ["npm", "run", "start"]

And this is the image with the standalone approach:

Why I'm not using Docker
Although the Docker setup worked totally fine, I need to have a structure to run a container on my server. My server (1GB memory, 25GB disk and 1vCPU) struggled with high CPU and memory usage when running a Docker container. I think due to some read/write operations that the container does, and some system service that collects logs.
Well I didn't dig so much deep into this topic. I noticed that one day my blog was down, and I had to investigate the issue. I saw the monitoring graphs on my server and noticed the high CPU and Memory. I removed everything docker related from my server, cleaned some folders and decided to ditch this approach.
Since I want to keep things simple, I decided to use a more pragmatic solution for my case: deploying to Vercel. Vercel it's free for "hobby” projects, and Next.js is built to be deployed and run on Vercel, I already knew that but I wanted to try it out myself on deploying on my own server.
Conclusion
Using standalone output on Next.js can be beneficial when creating a lightweight Docker image, but it requires some additional setup. It's important to understand your server's resources when you have to run the image in a Docker container to not run out of resources and have it well monitored. You need to decide the best approach for the situation you're facing depending on the whole context and allocate the right time and effort for it.
For my situation, Vercel turned out to be the most efficient and low-maintenance option.

References:
- https://nextjs.org/docs/app/api-reference/next-config-js/output
- https://nextjs.org/docs/app/building-your-application/deploying
- https://vercel.com/pricing
If you're still here. Thanks for reading :)